Monday, March 31, 2014
Create a Heart Chocolate Box with CorelDraw : Advanced Tutorial
In this tutorial you will learn how to create a beautiful red heart
chocolate box with CorelDraw for Valentine’s Day. This is Advanced Tutorial. We will create a
beautiful 3D chocolate box tied in gold ribbon with realistic heart
chocolates inside. We will use various CorelDraw tools like the shape
tool, fountain fill tool, extrude tool, freehand tool, transparency
tool, bezier tools and more to create this beautiful design.


How to Create a Polaroid Photo Collage Using Photoshop CS6 : Advanced Tutorial
In this Photoshop tutorial, you will learn how to create a Polaroid Photo Collage with Adobe Photoshop CS6. This is advanced tutorial. You can learn tutorial step by step and more easly. so let us start.

Let’s get started!
Step 1: Open Adobe Photoshop and select File > Open to import the image from the selected folders. Here I have used the below image to create a Polaroid Photo collage.

Let’s get started!
Step 1: Open Adobe Photoshop and select File > Open to import the image from the selected folders. Here I have used the below image to create a Polaroid Photo collage.
Make your own CD Cover with CorelDraw : Advanced Tutorial
Learn how to make your own cool custom CD Cover. This tutorial will
teach you the technique of creating a CD Cover with Coreldraw using the
bezier and shape tool, gradients, transparency and powerclips. You will
also learn how to create texturing and torn effects. This is Advanced tutorial categories.


Saturday, March 29, 2014
Corel online training & tutorial: Bezier Tool in Coreldraw to make Cartoon Bird
By Wijdan Rohail
Today we are going to learn Bezier Tool in Coreldraw, so we are going to make a Cartoon Bird. Few more tool involved for making this cartoon. I’m going to use Corel X4 but you can use any version as no special command used during this tutorial. So lets enjoy making it.

1. First of all take a new File in Coreldraw, I’ve taken a Letter Size file (i.e. 8.5″ x 11″ having Portrait view).
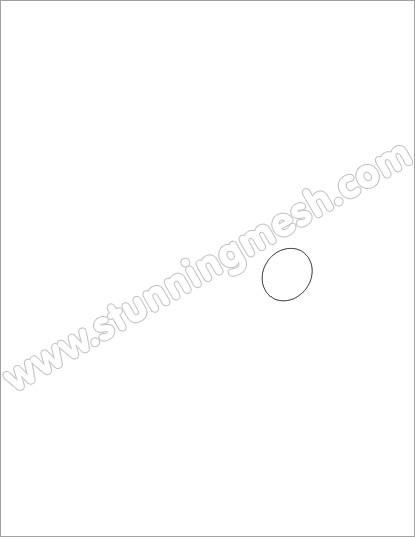
2. I’m going to start from Eyes, so pick Ellipse Tool and draw an Ellipse (not circle) and rotate it a little bit as shown below:
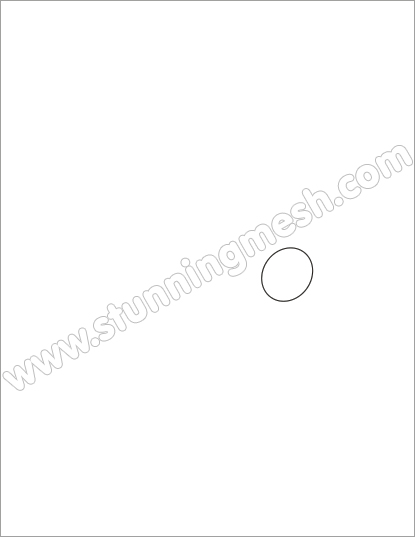
3. Select the Ellipse and press F12 to bring Outline Pen dialog box, give the following parameters and hit Ok, give White color inside it:
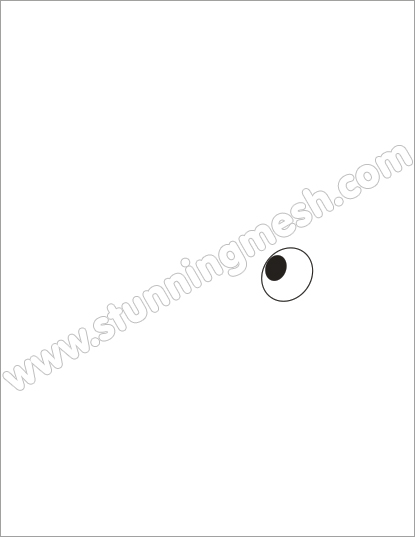
4. Again by using Ellipse tool , draw an ellipse inside previous ellipse and fill it with Black color as:
5. Again by using Ellipse tool , draw a small ellipse inside black ellipse and fill it with White color as:
Today we are going to learn Bezier Tool in Coreldraw, so we are going to make a Cartoon Bird. Few more tool involved for making this cartoon. I’m going to use Corel X4 but you can use any version as no special command used during this tutorial. So lets enjoy making it.

1. First of all take a new File in Coreldraw, I’ve taken a Letter Size file (i.e. 8.5″ x 11″ having Portrait view).
2. I’m going to start from Eyes, so pick Ellipse Tool

3. Select the Ellipse and press F12 to bring Outline Pen dialog box, give the following parameters and hit Ok, give White color inside it:

4. Again by using Ellipse tool

5. Again by using Ellipse tool
Corel online training & tutorial: creating a logo in coreldraw
In this tutorial, What you will Learn:
- Aligning and positioning objects using shortcut keys
- Smart Fill tool
- Rectangle tool
- Shape tool
- Working with artistic text
We will start with a new document and because we are creating a logo, at this point, page size is not really important so just set the preset destination to CorelDRAW default and the Primary color mode to RGB.
Let’s Begin:
We want to create a lighthouse image with rays emanating from behind. To do this, we will start with an ellipse that is 3" in diameter.
1. Select the Ellipse tool and while holding down the Ctrl key (remember this will constrain and create a perfect circle), create a circle that is 3" in diameter. To verify the size, look in the Property Bar. If it is not 3", simply type the value in the horizontal and vertical Object size boxes.
2. Next, with the Freehand tool selected, this is the 5th tool down in the toolbox (coincidently, the short cut key for this tool is F5). Click the left mouse button once to the left of the “9 o’clock” position of the ellipse while holding down the Ctrl key and draw a horizontal line completely through the ellipse. The line should be about 5 inches in length.
3. With the line still selected, hold down the Shift key and select the Pick tool. Click on the ellipse so that both objects are selected and press the C key to center and the E key to align it evenly.

Subscribe to:
Posts (Atom)
