By Wijdan Rohail
Today we are going to learn Bezier Tool in Coreldraw, so we are going to make a Cartoon Bird. Few more tool involved for making this cartoon. I’m going to use Corel X4 but you can use any version as no special command used during this tutorial. So lets enjoy making it.

1. First of all take a new File in Coreldraw, I’ve taken a Letter Size file (i.e. 8.5″ x 11″ having Portrait view).
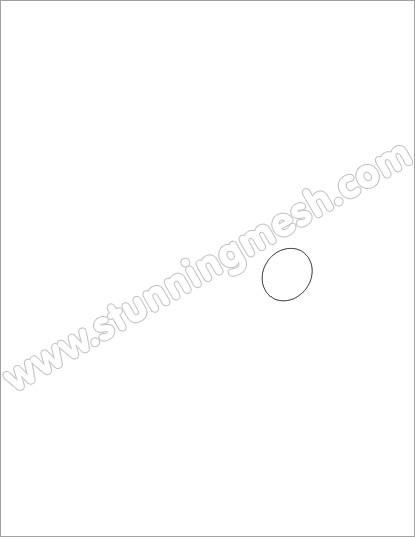
2. I’m going to start from Eyes, so pick Ellipse Tool and draw an Ellipse (not circle) and rotate it a little bit as shown below:

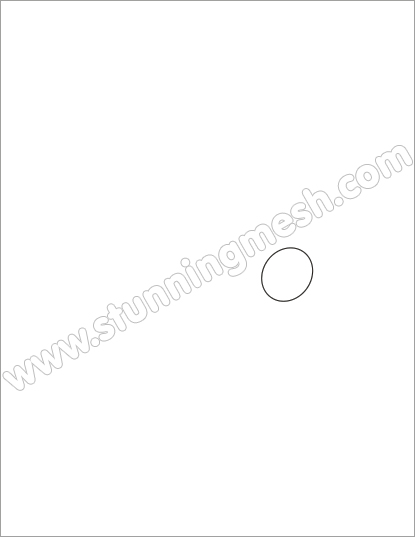
3. Select the Ellipse and press F12 to bring Outline Pen dialog box, give the following parameters and hit Ok, give White color inside it:

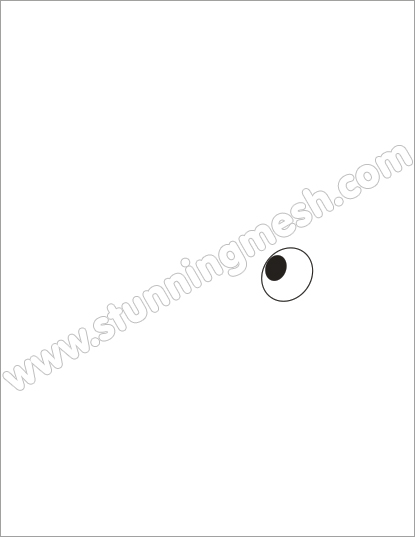
4. Again by using Ellipse tool , draw an ellipse inside previous ellipse and fill it with Black color as:

5. Again by using Ellipse tool , draw a small ellipse inside black ellipse and fill it with White color as:

6. Now pick Bezier Tool and make a triangle as shown below, we are going to make Eye Lashes:

7. Its time to convert these lines into Curves, so pick Shape Tool and select all three nodes of this triangle, you will see in top Property Panel an Icon will come having the name ‘Convert lines into Curves‘,
  simply click on it, then unselect all nodes by clicking on any empty
space, now move the lines towards outside to make them in curves, so
that you should have shape like this:

Fill it with Cyan color (C=100 Y=0 M=0 K=0) and give the same outline as we give for First Ellipse so you may have:

8. I’ve made the bottom part by using same technique so I’ve this:

9. Select all these shapes and hit ‘+’ (Plus) key to duplicate or you can move the objects by using Pick Tool and before leaving the Left click just hit Right click then leave Left click so all objects would be copied onto another location and reduce the size so you may have this:

10. I’m going to make the Beak of the bird, I’m expecting a little bit funny look of the cartoon, so by using Bezier tool and Shape tool
  (like we used above) I’ve made the beak like this (it will not look the
Beak in the begining but when we will give some detailing then it will
be having proper look):

Fill it with Red color (C=0 M=100 Y=100 K=0) and apply the same Outline Pen properties so you may have this:

11. So by using Bezier and Shape
  tool, I’ve given the following details over it:

12. Now complete the head part by using these two tools so you may have something like this:

13. Let us make now its Right wing, by using Bezier tool and Shape
  tool I’ve made the wing as shown below, but here we will have another
tool, we will be smoothing the edges of two curves, for this purpose
select the middle node between two curves and from top Property Panel you will find ‘Make Nodes Smooth‘ tool
  ,
it will smooth the edges of two curves so you may have proper shape of
your own desire, I’ve made the right wing by making different shapes as:

14. Its time to complete its Body Part, pick Bezier tool and draw a rough sketch of the body part as shown below:

again by using Shape tool and converting straight lines into curves we have smoothen the lines, fill it with White color and apply the following Ourtline Pen property by pressing F12 Key and give the parameters as:

you may have:

15. So why not making the other parts of the body and also the both Paws, so I’ve done this work:

16. I’m going to show that this bird is watching its Long tail and feeling proud of it, so I’m going to give the same look as its Wings, so make three Quills of his tail as shown below:

17. Now we are going to learn another technique and it is about the Power clip (i.e. Masking any object into another object). Make two rough parts as shown below:

We want to put these two shapes inside the middle Quill of the bird’s tail. So that we should hide the extra parts, select both Black and Yellow shape and run the command Effect >> Power Clip >> Place inside Container, an Arrow will come, so click on the middle Quill of the tail, so both shapes would go inside it as (before doing so you must have to check the option in Windows >> Options and ‘Auto-center new PowerClip contents’ should be switched off, otherwise your object will go into the center of the Quill):

So after Power Clip it will look like:

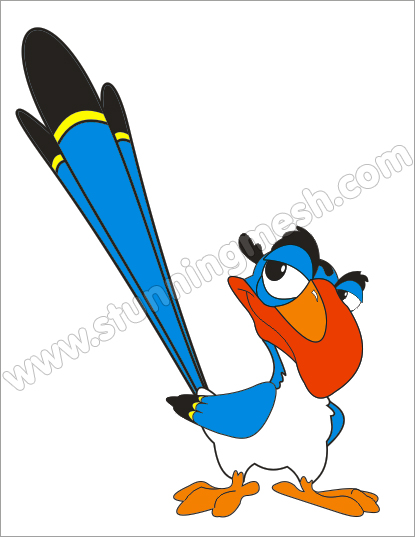
Do the same thing for other two Quills so we may have our Final Cartoon Bird as shown below:

Today we are going to learn Bezier Tool in Coreldraw, so we are going to make a Cartoon Bird. Few more tool involved for making this cartoon. I’m going to use Corel X4 but you can use any version as no special command used during this tutorial. So lets enjoy making it.

1. First of all take a new File in Coreldraw, I’ve taken a Letter Size file (i.e. 8.5″ x 11″ having Portrait view).
2. I’m going to start from Eyes, so pick Ellipse Tool

3. Select the Ellipse and press F12 to bring Outline Pen dialog box, give the following parameters and hit Ok, give White color inside it:

4. Again by using Ellipse tool

5. Again by using Ellipse tool

6. Now pick Bezier Tool

7. Its time to convert these lines into Curves, so pick Shape Tool

Fill it with Cyan color (C=100 Y=0 M=0 K=0) and give the same outline as we give for First Ellipse so you may have:

8. I’ve made the bottom part by using same technique so I’ve this:

9. Select all these shapes and hit ‘+’ (Plus) key to duplicate or you can move the objects by using Pick Tool

10. I’m going to make the Beak of the bird, I’m expecting a little bit funny look of the cartoon, so by using Bezier tool

Fill it with Red color (C=0 M=100 Y=100 K=0) and apply the same Outline Pen properties so you may have this:

11. So by using Bezier

12. Now complete the head part by using these two tools so you may have something like this:

13. Let us make now its Right wing, by using Bezier

14. Its time to complete its Body Part, pick Bezier

again by using Shape

you may have:

15. So why not making the other parts of the body and also the both Paws, so I’ve done this work:

16. I’m going to show that this bird is watching its Long tail and feeling proud of it, so I’m going to give the same look as its Wings, so make three Quills of his tail as shown below:

17. Now we are going to learn another technique and it is about the Power clip (i.e. Masking any object into another object). Make two rough parts as shown below:

We want to put these two shapes inside the middle Quill of the bird’s tail. So that we should hide the extra parts, select both Black and Yellow shape and run the command Effect >> Power Clip >> Place inside Container, an Arrow will come, so click on the middle Quill of the tail, so both shapes would go inside it as (before doing so you must have to check the option in Windows >> Options and ‘Auto-center new PowerClip contents’ should be switched off, otherwise your object will go into the center of the Quill):

So after Power Clip it will look like:

Do the same thing for other two Quills so we may have our Final Cartoon Bird as shown below:

No comments:
Post a Comment